
CAD Blog
What is the best way to clean a dryer vent?
March 11, 20245 min read
Brush the whole run, work from both directions, collect the debris rather than blowing it, and confirm the airflow at the hood. That is the whole method.
There is a lot of conflicting advice on this and most of it is about equipment rather than method. The best way to clean a dryer vent is simple to describe: mechanical contact along every foot of the duct, from both ends, with the lint collected instead of pushed.
What is the best way to clean your dryer vent?
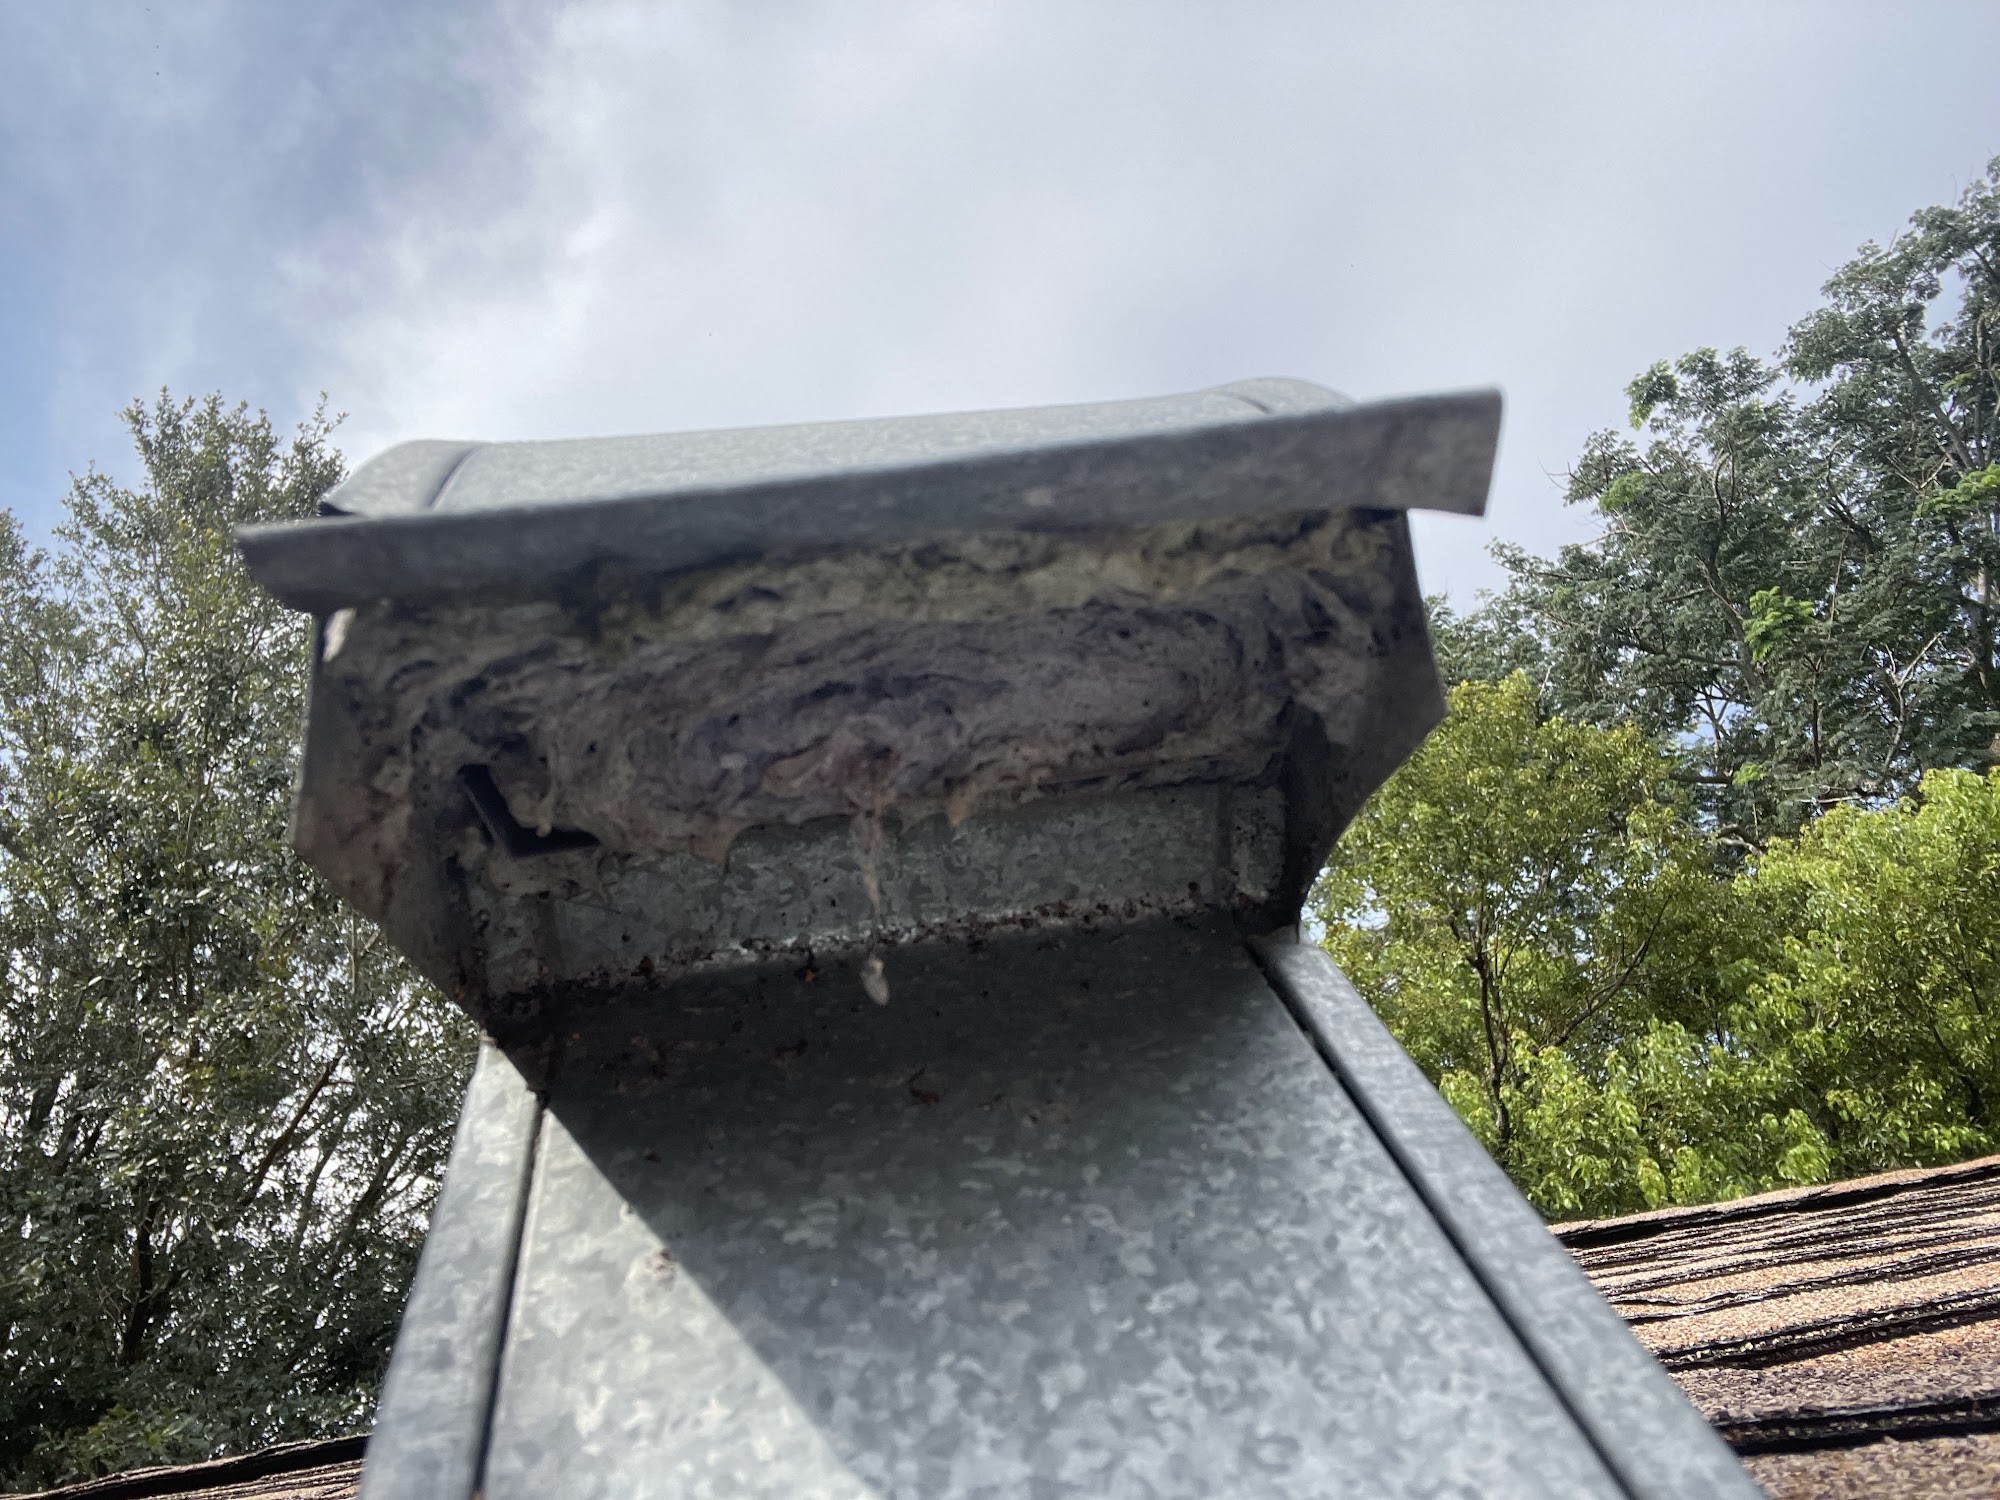
Clogged and dirty dryer vents and ductwork doesn’t just affect your dryer’s performance, a clogged dryer vent can also be a fire hazard. The combination of heat and accumulated dryer lint can lead to a fire hazard. In fact, clogged dryer vents cause thousands of house fires every year across the United States. Whether you clean the dryer vent yourself or hire a professional, it is important to clean a dryer vent at least once a year to keep your home safe and ensure you are not causing your dryer to overwork.
Most newer drying machines will show an air flow code when the dryer vent is clogged or reduces the amount of air flow. There are many signs of a clogged dryer vent. When deciding on maintaining your dryer vent yourself or hiring a professional, it is important to understand the different ways to clean the dryer vent properly. Most professional dryer vent cleaning companies utilize specialized equipment such as air pressure and special agitation tool to best clean the dryer vent. There are dryer vent cleaning kits you can purchase at your local home store. We are going to cover how a common homeowner would typically clean their dryer vent.
The method of using a brush and drill seems to be the common tools most homeowners use to clean their own dryer vent. We strongly recommend avoiding the thought of cleaning your dryer vent with a leaf blower, this causes more harm than good. Below outlines an effective way to clean a dryer vent as a homeowner.
How to clean a dryer vent
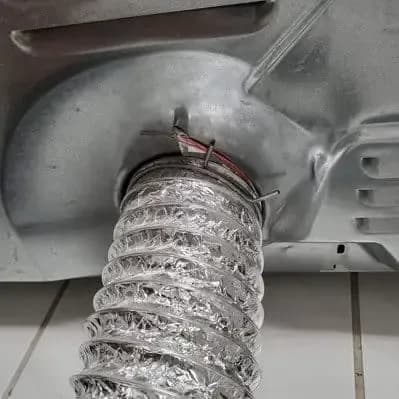
- First you want to find the dryer vent which is conveniently found at the back of the dryer.
- If you have an electric dryer, unplug the dryer. If you have a gas dryer, turn the supply valve off.
- Pull the dryer away from the dryer vent location so you have room to work behind the dryer.
- Disconnect the dryer duct adapter from the back of the dryer.
- Use the vacuum to clean in and around the hole in the back of the dryer.
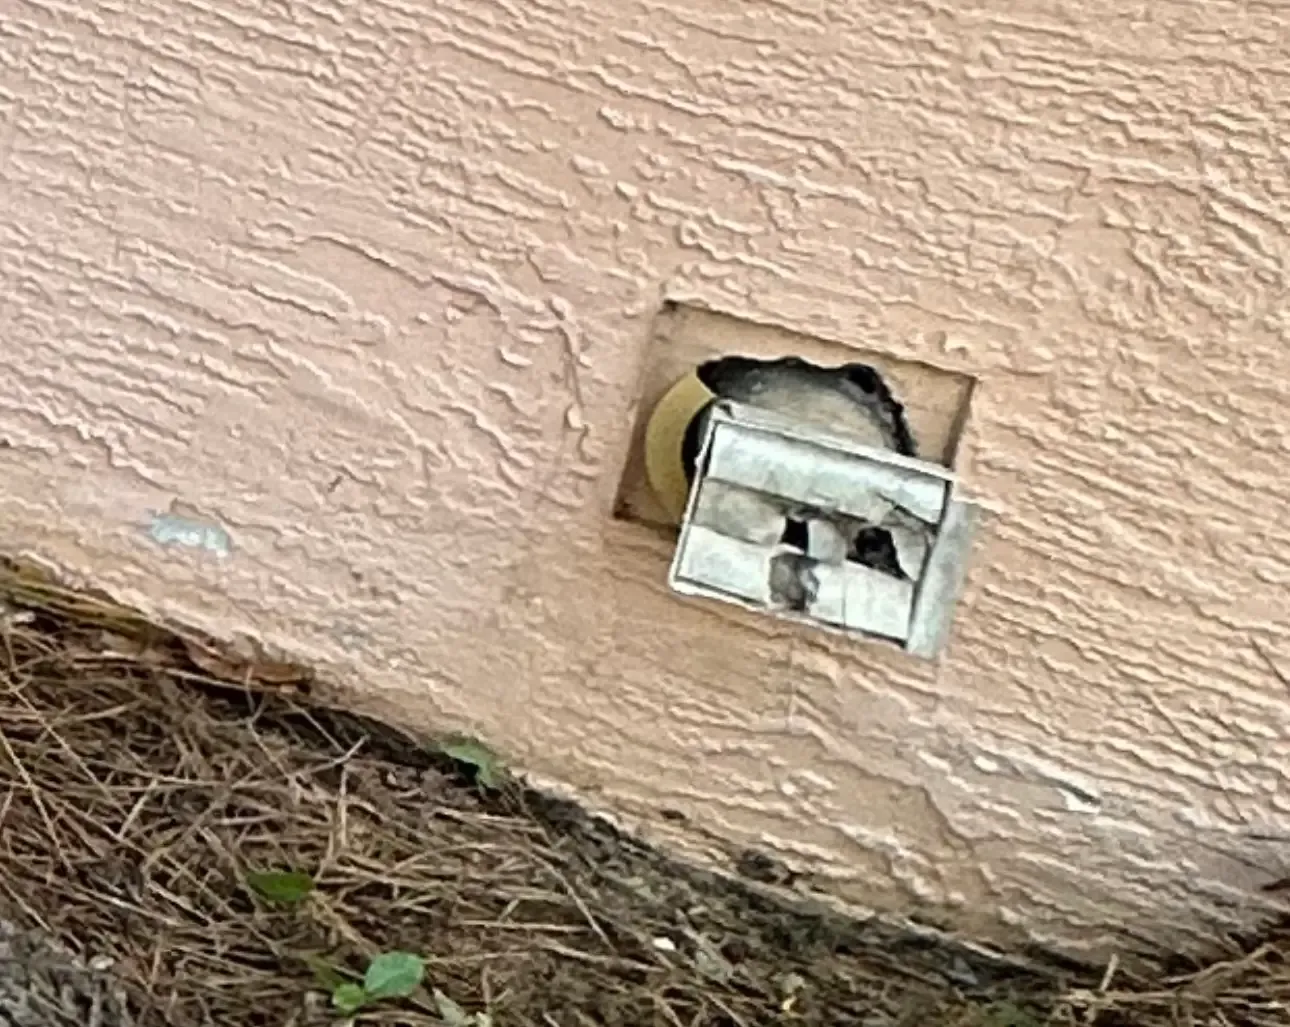
- Go outside the house and clean the exterior vent.
Once the steps above are done it is time to brush the vent clean using a dryer vent cleaning kit. These kits have flexible brushes with extensions that can be used with a drill to thoroughly clean the vents interior walls.
- Insert the brush into the duct and move it back and forth while rotating the brush clockwise.
- Add the extensions onto the brush as needed until the vent is free of lint and dust.
Now that the dryer vent has been properly cleaned it is time to reconnect the dryer vent adapter to both the dryer vent and the dryer. If the dryer vent adapter is worn or aged, it may be a good idea to replace it. Having everything fastened firmly move the dryer back into place while ensuring not to kink the dryer vent adapter.
- Push the dryer back into place and plug it in or turn the gas valve back on.
- Now it is time to test the dryer. Turn the dryer on for 15 to 20 minutes.
You can test to see if the dryer vent has good air flow by checking the exhaust vent at the end of the dryer vent while the dryer is running. Now that the dryer vent is cleaned you will notice it takes much less time for your clothes to dry. The dryer will appreciate your efforts as well since it doesn’t have to work so hard now. Now that your dryer vent is clean you can go have some real fun doing laundry, YAY! Remember, cleaning your dryer vent annually can be an easily forgotten task, so be sure to add this chore to your yearly scheduled maintenance.
The best way to clean a dryer vent, in order
Unplug the dryer and shut off the gas if it is a gas machine. Pull it out and disconnect the transition hose. Vacuum the lint trap housing, which holds more than most people expect. Brush the duct from the appliance end with rods, adding sections as you go so the brush reaches the termination rather than the first elbow. Move outside and brush back from the hood or roof cap. Vacuum the loosened lint at both openings. Reconnect, run the dryer on air-fluff, and check the exterior airflow.
What to avoid: compressed air or a leaf blower as the primary method, foil transition hose, over-long duct runs with multiple elbows, and screws at the joints — they catch lint and turn a smooth run into a collection point. Foil tape on the outside of the joint is the correct way to seal it.
For a short accessible ground-floor run, the DIY version of this is realistic. For roof terminations, second-floor laundries or anything over about 20 feet, the access is the hard part. See how we clean dryer vents, or book a free estimate — and if the duct itself needs rerouting or replacing, that is a service too.
Questions we get asked about this
Answered by the crew who do the work.
What is the best tool for cleaning a dryer vent?
A flexible rod kit with a rotating brush head sized to the duct, driven by a cordless drill at low speed, paired with a vacuum at the opening. That combination reaches the full run and collects what it removes.
Should I clean from inside or outside?
Both. Lint packs hardest at the termination where the flap restricts it, so brushing only from the appliance end tends to compact it rather than remove it.
How often should this be done?
Once a year for a typical household. Every six months if you run several loads a day, have a long duct run, or the laundry serves a large family.
Do dryer vent cleaning chemicals or additives help?
No. There is nothing to dissolve — lint is fibre, not residue — and anything sprayed into a hot duct is a bad idea. It is a purely mechanical job.
How do I verify it worked?
Run the dryer and hold your hand at the exterior hood. Airflow should be strong and steady, the flap should sit fully open, and a normal load should dry in one cycle again.
Want this looked at rather than read about?
Free estimates across six Central Florida counties, and a written price before any work starts.
More from the CAD blog
What Is Creosote and Why Is It Dangerous?
It starts as a light dusting you could wipe away and ends as a glazed, tar-like coating that has to be removed with specialist tools. Both are flammable.
Benefits of Professional Chimney Sweeping: Why It Matters for Your Home
The cleaning is the visible part. The inspection that comes with it is usually the part that saves you money.
Why Florida Homeowners Still Need Chimney Cleaning
The fireplace gets lit six times a year, so people assume the chimney looks after itself. In this climate, the opposite is true.